OpenCV makes the process of drawing shapes on an image straightforward by providing convenient functions. In this tutorial, we will see 5 built-in functions to annotate images: cv2.line, cv2.rectangle, cv2.circle, cv2.ellipse, cv2.putText.
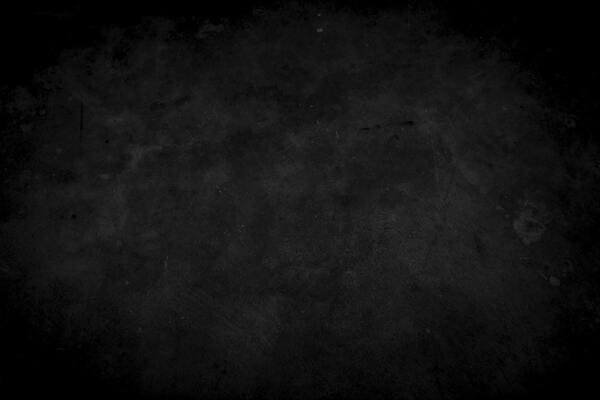
The image below will be used throughout this part:
Draw a Line with OpenCV and Python
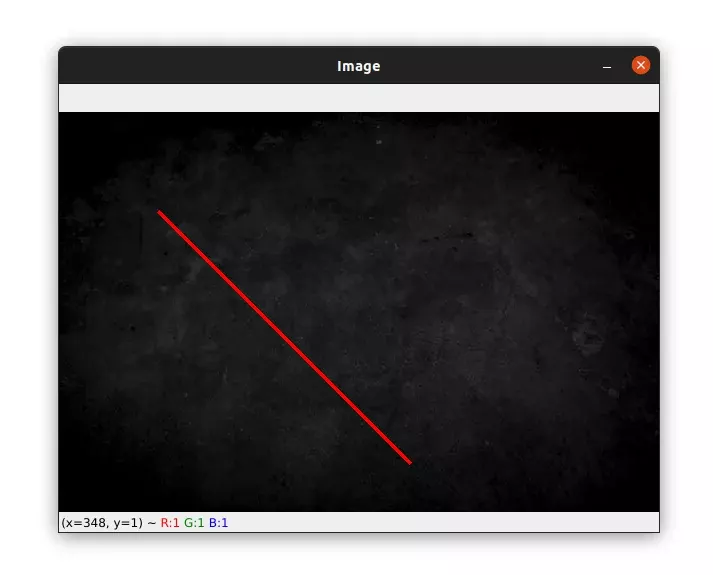
Let’s start with drawing lines using the cv2.line function:
import cv2

image = cv2.imread("black.jpg")

red = (0, 0, 255)
start = (100, 100)   # starting point of the line
end = (350, 350) # end pointing of the line
cv2.line(image, start, end, red, 3)
cv2.imshow("Image", image)
cv2.waitKey(0)
We start by importing cv2 and reading the image.
Then we define some variables that we will use in the cv2.line function. The red variable will represent the red color.
The start and end variables are used to draw the line. Please note that the origin of the (x, y) coordinates is located at the top left corner of the image.
Next, we draw the line using the cv2.line function. The first argument to this function is the image we want to draw on.
The second and third arguments are the starting point and ending point of the line respectively.
The fourth argument is the color of the line, which, in this case, is red.
The last argument is the thickness of the line, the greater the value, the thicker the line.
Finally, we display our image, which you can see the result below:
As you can see, drawing lines with OpenCV is easy. Let’s move on to drawing rectangles.
Draw a rectangle with OpenCV and Python
The cv2.rectangle function takes the same arguments as cv2.line function. Take a look at the code below:
import cv2

image = cv2.imread("black.jpg")

red = (0, 0, 255)
green = (0, 255, 0)

# draw a red rectangle with 3 pixel thickness
cv2.rectangle(image, (50, 50), (150, 350), red, 3)
cv2.imshow("Image", image)
cv2.waitKey(0)

# draw a green rectangle filled in
cv2.rectangle(image, (180, 280), (560, 350), green, -1)
cv2.imshow("Image", image)
cv2.waitKey(0)
We have drawn 2 rectangles on this image using the cv2.retangle function.
The first argument to this function is the image we want to draw on.
The second and third arguments are respectively the starting point (top-left corner) and the ending point (bottom-right corner) of the rectangle. Here the starting point is at (x1, y1) = (50, 50) and the ending point is at (x2, y2) = (150, 350).
So the first rectangle will have a width of x2 – x1 = 100 pixels and a height of y2 – y1 = 300 pixels.
The fourth argument is the color of the rectangle, which, in this case, is red. And the last argument is the thickness.
To draw a rectangle filled we can use a negative value for the thickness argument. This is what we did in the next block of code.
The result is shown in the image below:

Draw a Circle with OpenCV and Python
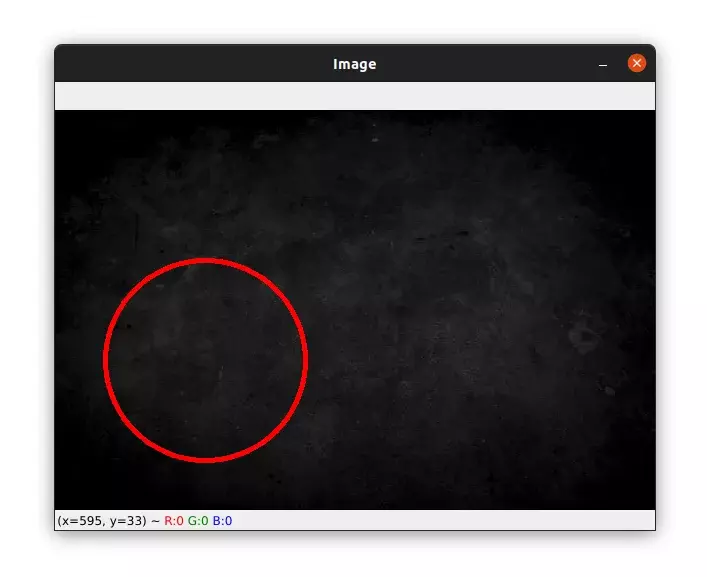
Next, let’s see how to draw circles on an image:
import cv2

image = cv2.imread("black.jpg")

red = (0, 0, 255)
center = (150, 250)
radius = 100

cv2.circle(image, center, radius, red, 3)
cv2.imshow("Image", image)
cv2.waitKey(0)
As for drawing lines and rectangles, to draw a circle we simply use the cv2.circle function.
The first argument to this function is the image we want to draw on.
The second and third arguments are the coordinates for the center of the circle and its radius.
The last two arguments are the color and thickness of the circle.
Here is the resulting image:
Draw an Ellipse with OpenCV and Python
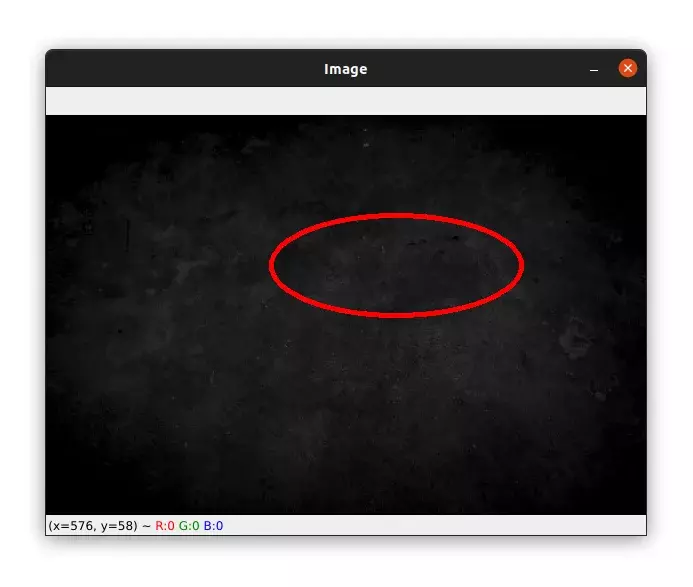
We can also draw an ellipse on an image with the function, you guessed it, cv2.ellipse. Let’s see an example:
import cv2

image = cv2.imread("black.jpg")

red = (0, 0, 255)
center = (350, 150) # center of the ellipse
start_angle = 0 # start angle of the ellipse
end_angle = 360 # end angle of the ellipse
axis = (125, 50) # minor and major axis lengths of the ellipse
angle = 0

cv2.ellipse(image, center, axis, angle, start_angle, end_angle, red, 3)
cv2.imshow("Image", image)
cv2.waitKey(0)
The cv2.ellipse function is similar to the cv2.circle function except that it takes some different arguments.
The first two arguments to the cv2.ellipse function are the image we want to draw on and the center of the ellipse respectively.
The third argument is the ellipse rotation angle in degrees.
The third argument is a tuple to specify the axis lengths of the ellipse. If we choose the same value for the two elements in the tuple, the ellipse will be simply a circle.
The fourth and fifth arguments are the starting and ending angles of the ellipse. For example, we can draw half an ellipse by setting the end_angle variable to 180 degrees.
The last two arguments are the color and thickness of the ellipse.
The output image is shown below:
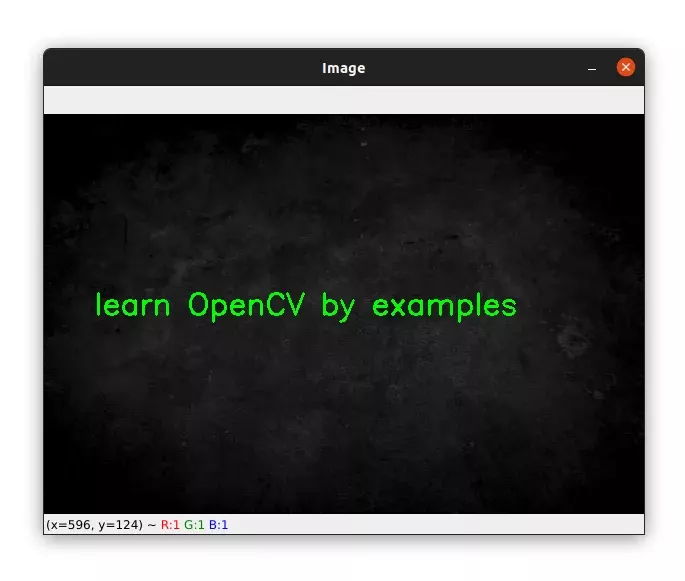
Write Text on an Image with OpenCV and Python
Before finishing this part let’s see how to add some text to an image.
import cv2

image = cv2.imread("black.jpg")

green = (0, 255, 0)
text = "learn OpenCV by examples"
origin = (50, 200)
font_face = cv2.FONT_HERSHEY_SIMPLEX
font_scale = 1

cv2.putText(image, text, origin, font_face, font_scale, green, 2)
cv2.imshow("Image", image)
cv2.waitKey(0)
To write texts on an image, we make use of the cv2.puText function.
As usual, the first argument to this function is the input image.
The second argument is the text string we want to draw on the image. The third argument is the location of the text string.
The next two arguments are the font style and the font scale. See HersheyFonts for the options available for the font style.
The last two arguments are the color and the thickness of the text.
Finally, we display our image which you can see below:
Summary
In this tutorial, you saw how simple it is to draw shapes on an image with OpenCV. These functions are very useful for image processing and computer vision.
For example, we can use the cv2.rectangle to draw the bounding boxes around objects detected by a convolutional neural network.